Draw the same pretend animal from the front and from the side, choosing which features are visible in each view. Compare the arrangement of eyes, ears, body, and tail rather than trying to make the two outlines identical.
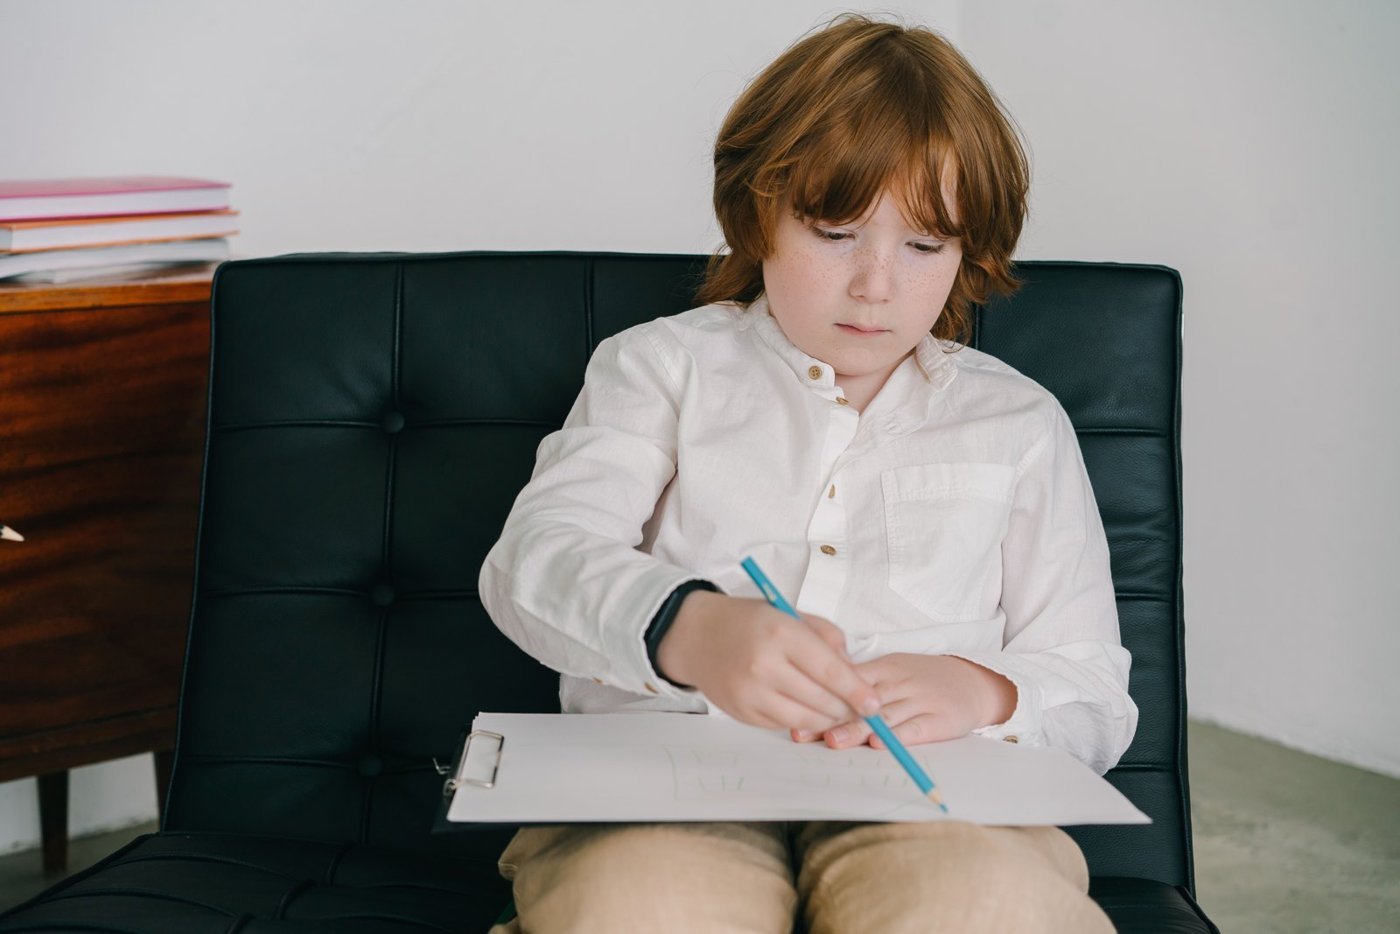
The front of a cat face and the side of a cat body offer different information. In one view, both eyes may be clear; in another, a tail can become the main feature. Drawing two views helps children make choices about what their picture includes instead of adding every known body part to every outline.
Start with an original character
Use two plain sheets or a sheet divided into broad panels. Choose a pretend cat with three identifying details: pointed ears, a round nose, and a curled tail. The character can keep these details across both views, even when a detail is partly hidden.
Place a familiar toy animal on the table if your child wants a physical reference. View it without dismantling or altering it. A toy’s shape is a model for this activity, not evidence about a real animal’s anatomy.
Draw the front view first
- Make a large rounded head with space for two ears.
- Add the visible eyes and a small nose.
- Place the body below the head.
- Decide whether the tail peeks out at one side or stays hidden.
Your child can keep the picture as a face portrait if the full body feels like too much. Explain the viewpoint with a simple phrase: “We are looking toward the front of our character.”
Move around the character in your imagination
For the side view, begin with a broad body and a head at one end. Add an ear, one visible eye, and the tail at the other end. Let the child decide whether part of another ear or leg appears behind the first.
Compare what the viewer can see
| Feature | Possible front-view choice | Possible side-view choice |
|---|---|---|
| Eyes | Two visible eyes | One prominent visible eye |
| Body | A narrower shape below the head | A longer shape behind the head |
| Tail | Hidden or peeking out | A clear curl beyond the body |
These are simplified cartoon choices. Looking at a specific pose may reveal different amounts of each feature.
Keep one detail consistent
Use the same chosen fur color or nose shape in both pictures. That small repeated detail can help the viewer recognize the character even though the outlines differ. Matching the exact dimensions is unnecessary for this informal comparison.
Ask “Which view shows the tail most clearly?” rather than “Which drawing is better?” Your child might prefer one view for a portrait and another for a scene about walking down a path.
Questions parents ask
Do we need to draw hidden legs?
Not necessarily. The picture can show only the visible portions. If a child wants to include them, discuss where they would peek out instead of forcing a fixed number of separate marks.
Is this the same as symmetry?
No. Symmetry compares sides of a form. This activity changes the viewer’s position. A front view may offer a symmetry question, but that is an optional separate focus.
Can we use a book illustration?
Observe its viewpoint, then invent a different view on loose paper. Keep clear which sketch is your interpretation rather than an unseen original page.
Would a ready outline suit today?
This project works with your own paper and drawings. If your child would rather begin with an animal outline, look at the real Baby Animals inside pages together. Little Wonder Club’s English paperback is intended for ages 4–8 and includes 40 baby animals, short facts, and 88 total pages. Choose it if the actual artwork appeals to your child; buying it is optional.
See the paperback and current ordering details on Amazon.
A related idea for another day
Illustrative stock photograph by Mikhail Nilov on Pexels, used under the free Pexels License. It is not a photo of our book or a demonstration of this exact project. Product details and linked factual sources checked October 10, 2026.
Explore Baby Animals
See the actual inside pages before deciding whether the book fits your child.
Check the paperback on Amazon