Fold a broad paper strip back and forth into several panels, draw a continuous landscape across them, and add original animals away from the folds. Open it flat to view the scene or gently spread the folds for a tabletop display.
A panorama is one wide scene rather than a sequence of pages. Folding the paper lets that scene close into a compact stack and reopen across a table. This project is useful for a child who wants to connect a pond, a hill, and a resting place in one picture.
Choose a short strip and test the folds first
Use a broad strip of paper, crayons or pencils, and a flat surface. An adult can trim or join paper to make the strip; a first panorama needs only three or four panels. Fold the strip back and forth so the creases alternate direction.
Open the strip fully and check where the folds fall. A fold through an eye or a small face may hide that detail when the panorama stands, so plan large characters inside the panels rather than across their boundaries.
Connect the landscape before adding animals
- Draw a ground line across the open strip.
- Choose one broad feature that continues across a fold, such as a path or stream.
- Add a large feature in each panel: a tree, hill, or patch of grass.
- Place one original animal in a roomy area.
- Add a second character only if the scene still feels open.
Choose a pretend landscape if you want complete freedom. For a real habitat, look up specific references and keep the species and habitat relationship accurate. A panorama is a format; it does not make a mixture of unrelated animals a factual habitat.
Use folds as part of the design
A mountain or tree can sit near a fold and change how the display looks when viewed from an angle. Open the paper halfway before adding more detail so your child can see that effect. Keep any essential words away from a crease.
Panorama versus mini book
| Format | Main idea | How to view it |
|---|---|---|
| Folding panorama | One continuous wide scene | Open the strip to see the connected landscape |
| Mini book | Separate pages or story moments | Turn pages in an intended order |
Your child can combine formats later. Keeping this first project as one scene makes the planning simpler.
Display it in two ways
Lay the panorama flat for a complete view. For a tabletop display, open the folds gently and check whether the paper stands without extra supports. If it falls, use the flat version or choose sturdier paper next time. There is no need to add heavy objects, loose strings, or a complicated frame.
Add a title to a spare end panel or a separate card. “The Pretend Pond Path” tells the viewer both the setting and that this is an invented scene.
Common questions
Can we fold a page from our book?
Use loose paper so you can choose the proportions and preserve the bound book. Look at animal pictures for inspiration without cutting them out.
How long should the panorama be?
Begin with a length your table can support. Three panels give enough room to test the idea; extra panels are optional rather than a measure of success.
Would a ready outline suit today?
This project works with your own paper and drawings. If your child would rather begin with an animal outline, look at the real Baby Animals inside pages together. Little Wonder Club’s English paperback is intended for ages 4–8 and includes 40 baby animals, short facts, and 88 total pages. Choose it if the actual artwork appeals to your child; buying it is optional.
See the paperback and current ordering details on Amazon.
A related idea for another day
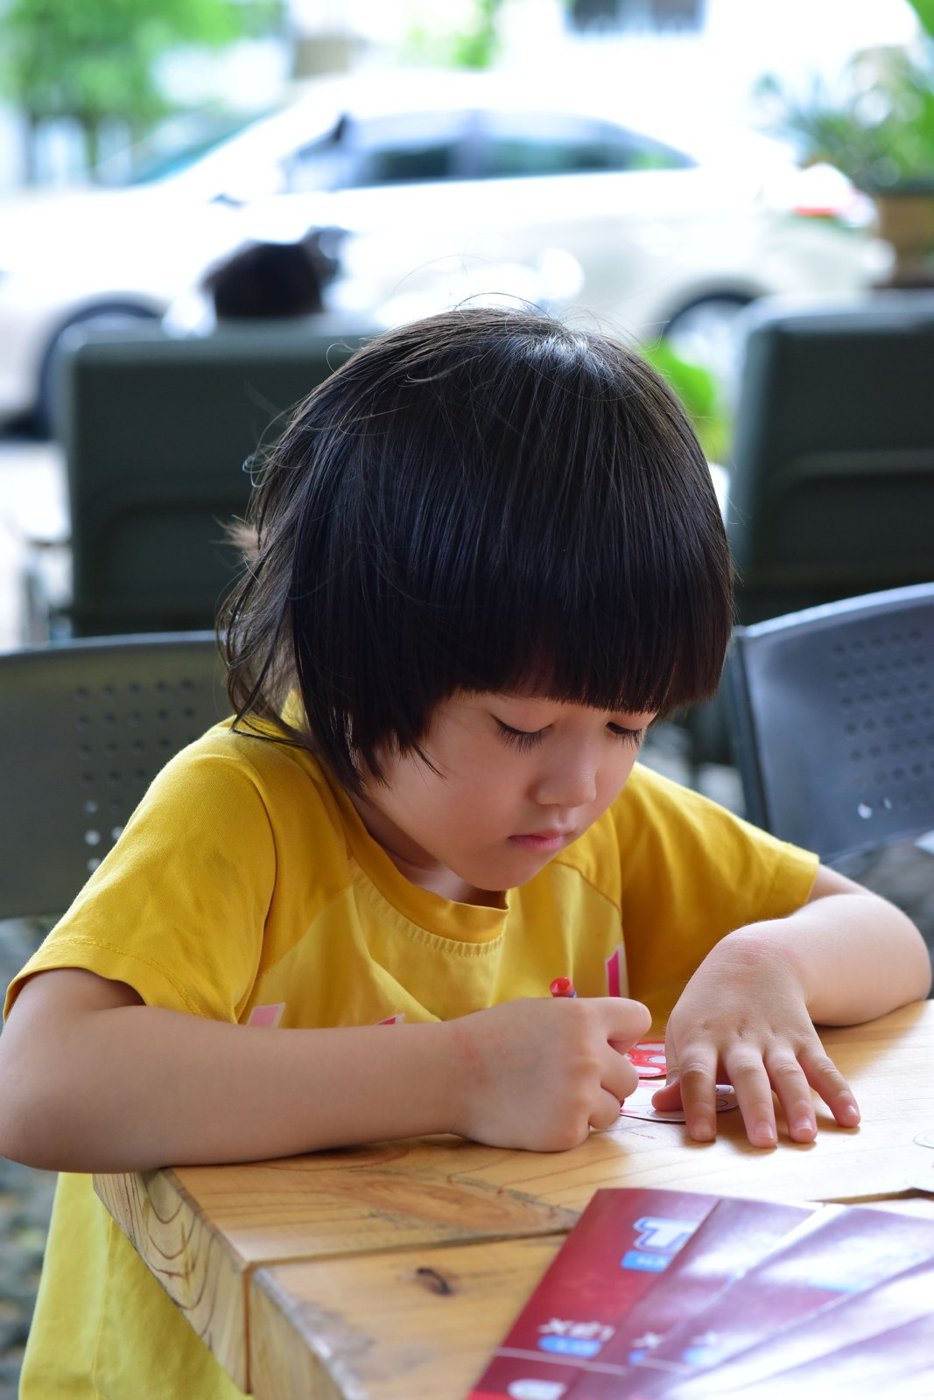
Illustrative stock photograph by Sóc Năng Động on Pexels, used under the free Pexels License. It is not a photo of our book or a demonstration of this exact project. Product details and linked factual sources checked October 10, 2026.
Explore Baby Animals
See the actual inside pages before deciding whether the book fits your child.
Check the paperback on Amazon