Use a small paper grid and color whole squares to build a blocky animal. Start with a broad body, add a few identifying features, and use only two or three colors so the grid stays easy to follow.
A grid changes the drawing question from “How do I make a smooth curve?” to “Which square should receive color?” That makes paper pixel art a distinct design experience. The character will look blocky on purpose, and the grid can remain small enough for one brief session.
Prepare a grid with comfortable squares
Use graph paper you already have, or let an adult draw a broad grid on plain paper. Try eight columns and eight rows with squares large enough for your child’s tool. A ruler can help prepare the lines, but the child’s task is to choose colored squares rather than measure them.
Choose two colors: one for the animal and one for a feature such as the nose. Leave unused squares the color of the paper. The image does not have to fill the grid.
Plan a blocky cat with a small example
- Leave the top row mostly open.
- Choose two separated squares in the next row for ears.
- Build a wider head across the rows below them.
- Leave two light squares for eyes, if desired.
- Add one darker square for a nose.
You can sketch the plan lightly on spare paper before coloring. The exact square positions are the child’s design choices; there is no hidden correct pattern to discover.
Use a row-by-row approach when useful
If the grid feels confusing, ask your child to point to the row they want to work on. Color only that row’s chosen squares, then pause. A parent can describe a choice aloud: “Two open squares, then three colored ones.” Stop counting when it ceases to help.
Pixel art and color-by-number are different
| Project | What directs the color? | Who makes the design? |
|---|---|---|
| Original paper pixel art | The child’s chosen square arrangement | The child, with optional planning help |
| Color-by-number | A numbered key assigned to areas | The page designer, unless the child creates the key |
A grid does not automatically make this a numbered worksheet. Keep the design open if that is the invitation you want.
Change one feature for a second character
On another small grid, try shorter ears or a longer blocky body. Compare which feature most changes how the creature reads. A tail can be a row of colored squares extending sideways, provided the grid has room.
If your child colors part of a square rather than all of it, decide whether to keep that as a new style. The whole-square constraint is a design experiment, not a rule worth arguing over.
Common questions
Do we need an app or a printed template?
No. Paper and a hand-drawn grid are enough. This is an original screen-free design activity.
Should we copy a familiar game character?
An invented animal avoids relying on a branded design and gives your child more choices. Use a character they name themselves.
Can this connect with an animal coloring book?
Choose an animal theme from a picture your child likes, then make a new blocky interpretation on separate paper. The grid version is your child’s own design.
Would a ready outline suit today?
This project works with your own paper and drawings. If your child would rather begin with an animal outline, look at the real Baby Animals inside pages together. Little Wonder Club’s English paperback is intended for ages 4–8 and includes 40 baby animals, short facts, and 88 total pages. Choose it if the actual artwork appeals to your child; buying it is optional.
See the paperback and current ordering details on Amazon.
A related idea for another day
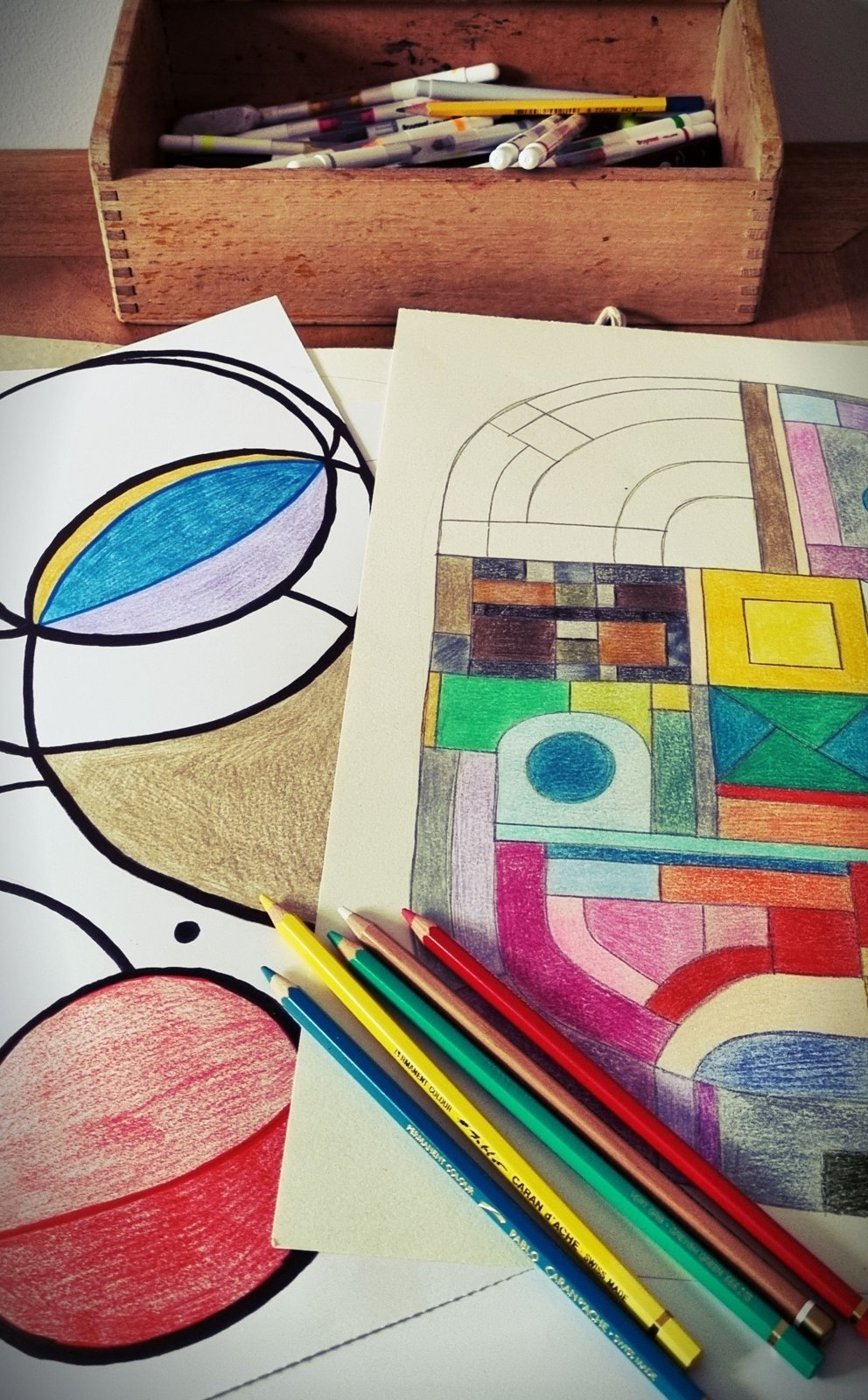
Illustrative stock photograph by Anne van der Valk on Pexels, used under the free Pexels License. It is not a photo of our book or a demonstration of this exact project. Product details and linked factual sources checked October 10, 2026.
Explore Baby Animals
See the actual inside pages before deciding whether the book fits your child.
Check the paperback on Amazon