Negative space is the area around a subject. Draw a large animal on plain paper, leave its inside mostly uncolored, and add color around it so the background helps reveal the shape.
Children are often invited to fill the animal first. Try switching the first question: what happens if the bird stays the color of the paper and the sky receives the color? This is a practical introduction to negative space, using an area your child can see and change.
Begin with a shape that has room around it
Use one sheet of plain paper and a few crayons or pencils. Draw a broad side-view bird near the center, leaving several inches around it. A rounded body, a small head, a beak, and a tail are enough. Do not add dozens of feathers or tiny interior sections.
Point to the bird and then to the paper outside it. Explain, “This is the bird. This is the space around the bird.” Your child does not need to remember a vocabulary term before trying the idea.
Give the background the first color
- Choose one color for the area above the bird.
- Make a few broad marks near the top edge of the paper.
- Move toward the outline, leaving a little breathing room if desired.
- Add a second patch below or beside the bird.
- Pause and look at the uncolored shape from a comfortable distance.
The background does not need to cover every white speck. Leaving a border can make the animal easy to distinguish without turning the session into precision practice. If a mark crosses the line, it becomes part of this particular picture.
Compare two background choices
| Choice | Try it this way | Question to ask |
|---|---|---|
| One broad color | Use blue around the bird | Where is the outline easiest to see? |
| Two large regions | Use blue above and green below | Does the bird seem near a ground line? |
| Scattered patches | Add several orange marks around it | Which spaces still feel open? |
These are design possibilities rather than scientific predictions about how every viewer will react. Let the child choose the one they like.
Add only the details the picture needs
An eye and one wing line may be plenty. Or your child may choose to keep the shape blank. Ask before adding details yourself: an adult’s helpful finishing touches can change the child’s intended picture.
A second version on colored paper
Try the same broad outline on a different paper color, using a tool that is visible on it. Test a small patch first. The untouched bird will now keep that paper color, so the relationship between subject and background changes.
Common questions
Is negative space the same as a silhouette?
A silhouette focuses on the subject’s outer shape. Negative-space work focuses attention on what surrounds it. One picture can use both ideas.
Can we start with a book outline?
Yes, if its surrounding area is open enough. Preview the actual page and let the child decide whether to color the background, the animal, or both. Loose paper gives more freedom to change the outline.
Would a ready outline suit today?
This project works with your own paper and drawings. If your child would rather begin with an animal outline, look at the real Baby Animals inside pages together. Little Wonder Club’s English paperback is intended for ages 4–8 and includes 40 baby animals, short facts, and 88 total pages. Choose it if the actual artwork appeals to your child; buying it is optional.
See the paperback and current ordering details on Amazon.
A related idea for another day
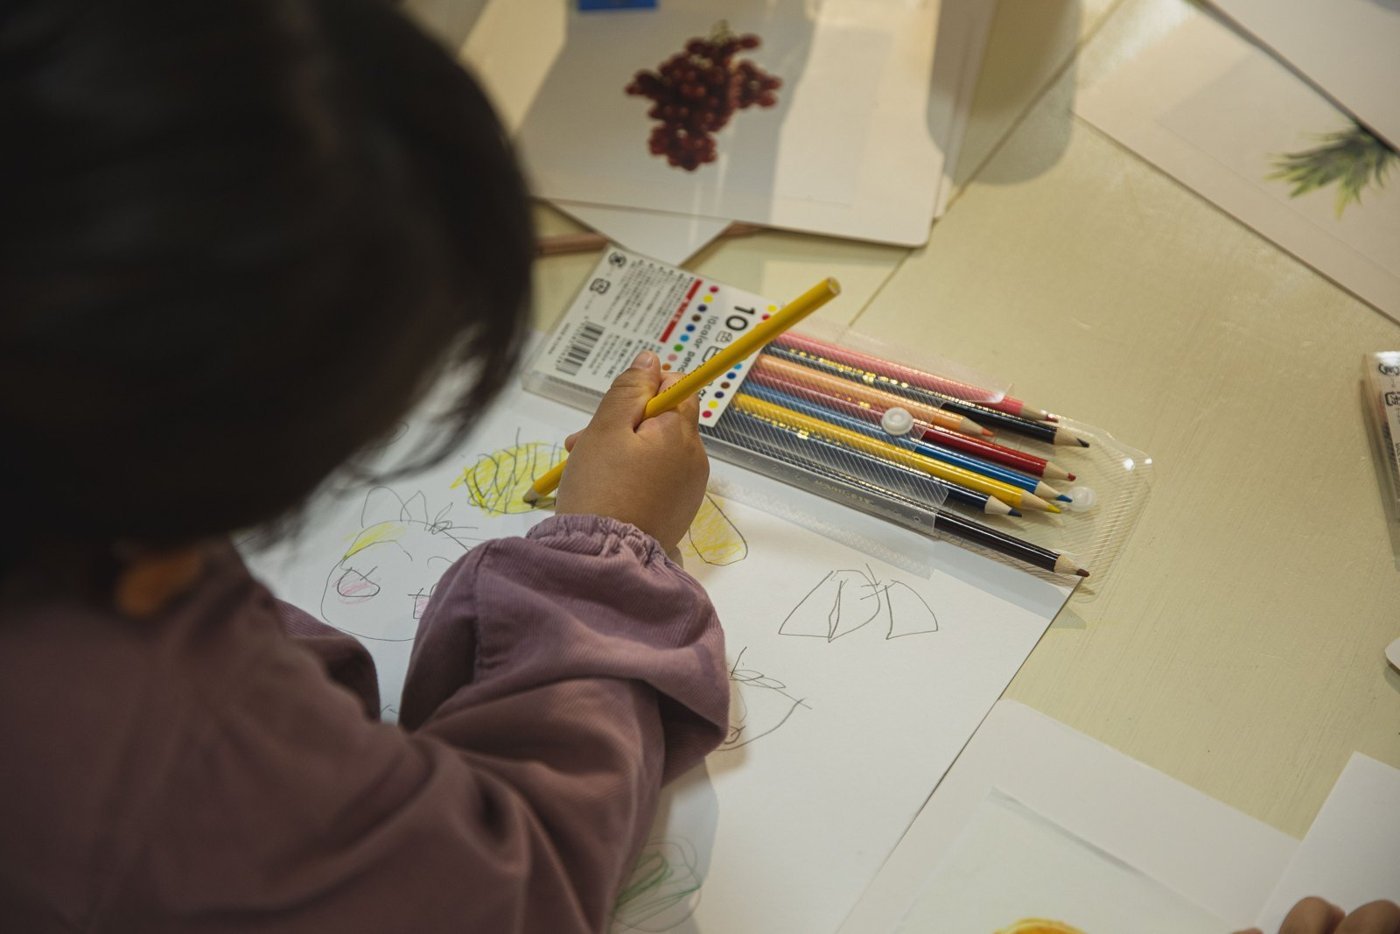
Illustrative stock photograph by Ryutaro Tsukata on Pexels, used under the free Pexels License. It is not a photo of our book or a demonstration of this exact project. Product details and linked factual sources checked October 10, 2026.
Explore Baby Animals
See the actual inside pages before deciding whether the book fits your child.
Check the paperback on Amazon