Make three small patches with the same pencil, changing how lightly you press. Compare the marks your actual pencil produces, then choose one comfortable pressure for a large area and another for a small detail.
A child may choose the right brown pencil yet wonder why one patch looks pale and another looks dark. Before adding another color, compare the marks made by that single pencil. This small test can help a family make a practical choice about tools and paper without asking the child to push harder and harder.
Keep the experiment small
Use scrap paper on a firm surface and a pencil that is intact and comfortable to hold. Draw three broad squares, each large enough for a few strokes. The paper can be ordinary drawing paper; using the same sheet for all three patches keeps one variable consistent.
Explain that “firmer” still means comfortable. The paper should not need to dent or tear, and a breaking tip is a reason to stop the test. Some pencil-and-paper combinations show little difference with a pressure change.
Compare three patches with one pencil
- In the first square, make a few light marks.
- In the second, try a slightly firmer mark without forcing the pencil.
- In the third, choose whichever pressure feels most comfortable.
- Place the pencil down and compare the patches.
Let the child name them: “misty,” “medium,” and “my favorite” might be more useful than numerical levels. A parent can demonstrate on a separate row so their test does not replace the child’s observations.
Use the test on a simple animal
Draw an original round bear face with two ears and a broad muzzle. Invite your child to use one chosen mark for the face and another for the ears. Keep the nose as a small detail; it need not be the darkest possible mark.
A worked choice
If the light patch is easy to make and looks pleasant to the child, use it across the face. If the firmer patch is uncomfortable, choose a darker pencil for small features instead. The test is useful even when it shows that pressing more is not the best solution.
Pressure and repeated layers are different decisions
| Experiment | What changes? | Keep this steady |
|---|---|---|
| This pressure test | How lightly the pencil is used | The pencil and paper |
| A layering test | Additional passes or colors over a patch | A comfortable gentle mark |
You can compare layering on another day. Changing pressure, colors, paper, and number of passes at once makes it harder to explain what happened.
What if the marks do not look different?
Notice that result and move on. Try another intact pencil if your child is interested, or choose colors rather than pressure to separate areas. The activity does not require a dramatic effect to be worthwhile.
Should I correct my child’s grip?
This article is a mark-making experiment, not a grip assessment. Offer comfortable positioning and a break when requested. Specific persistent discomfort deserves individual guidance rather than an online drawing rule.
Would a ready outline suit today?
This project works with your own paper and drawings. If your child would rather begin with an animal outline, look at the real Baby Animals inside pages together. Little Wonder Club’s English paperback is intended for ages 4–8 and includes 40 baby animals, short facts, and 88 total pages. Choose it if the actual artwork appeals to your child; buying it is optional.
See the paperback and current ordering details on Amazon.
A related idea for another day
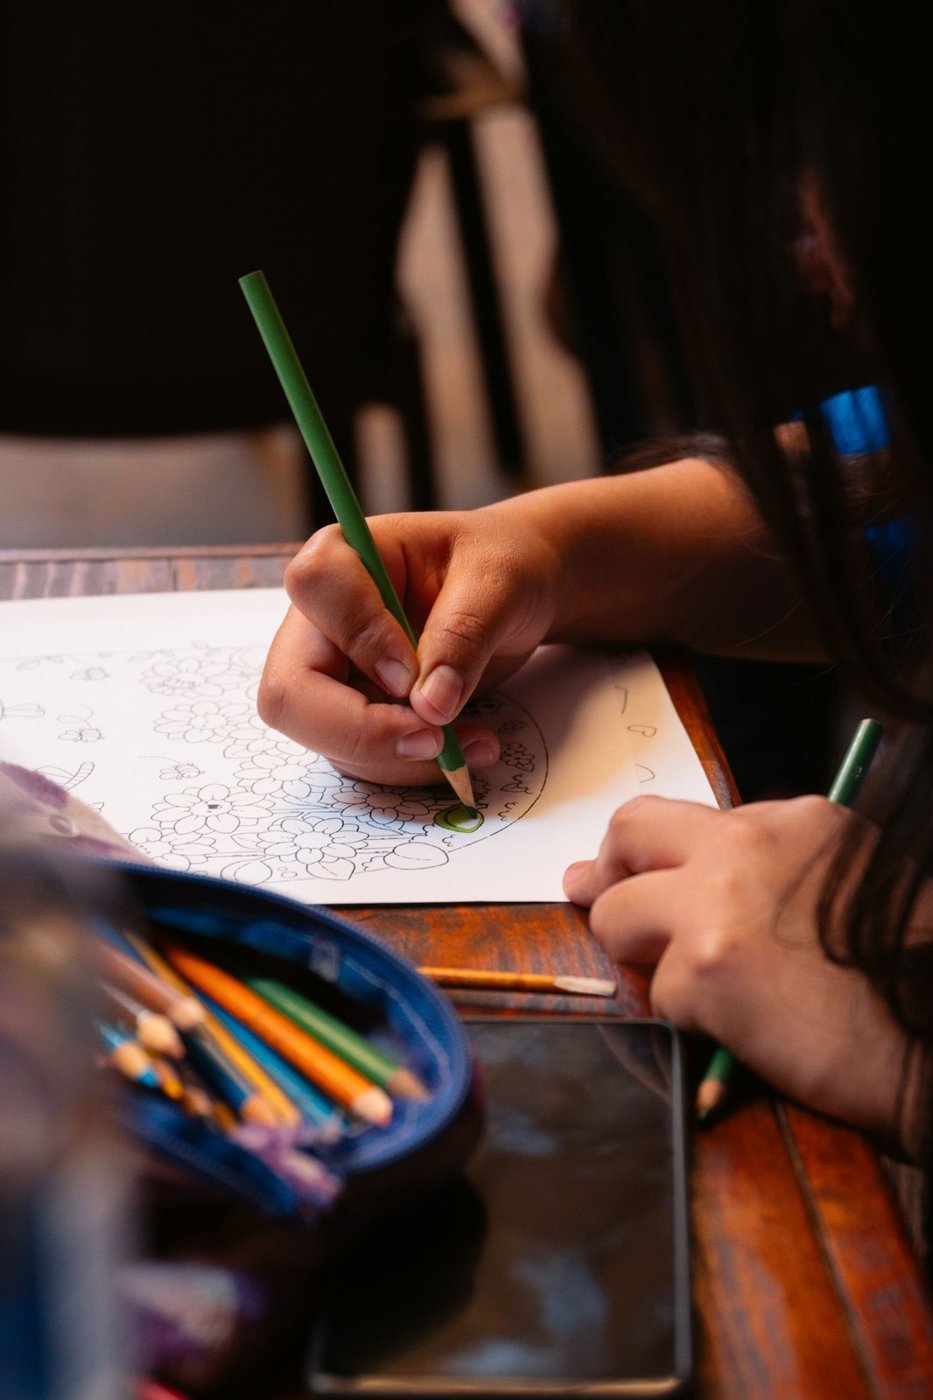
Illustrative stock photograph by Allan González on Pexels, used under the free Pexels License. It is not a photo of our book or a demonstration of this exact project. Product details and linked factual sources checked October 10, 2026.
Explore Baby Animals
See the actual inside pages before deciding whether the book fits your child.
Check the paperback on Amazon